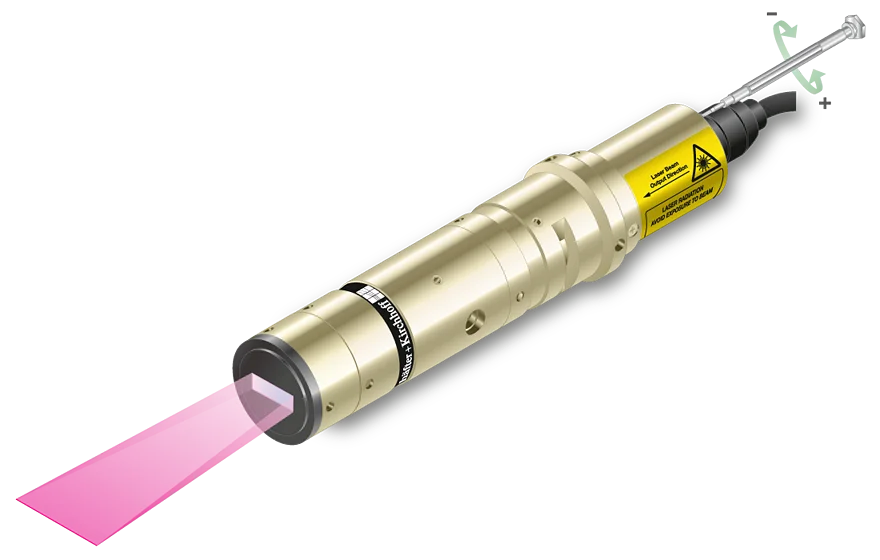
Laser Line Module Series 13LNM

Laser Macro Line Generator with a fan angle
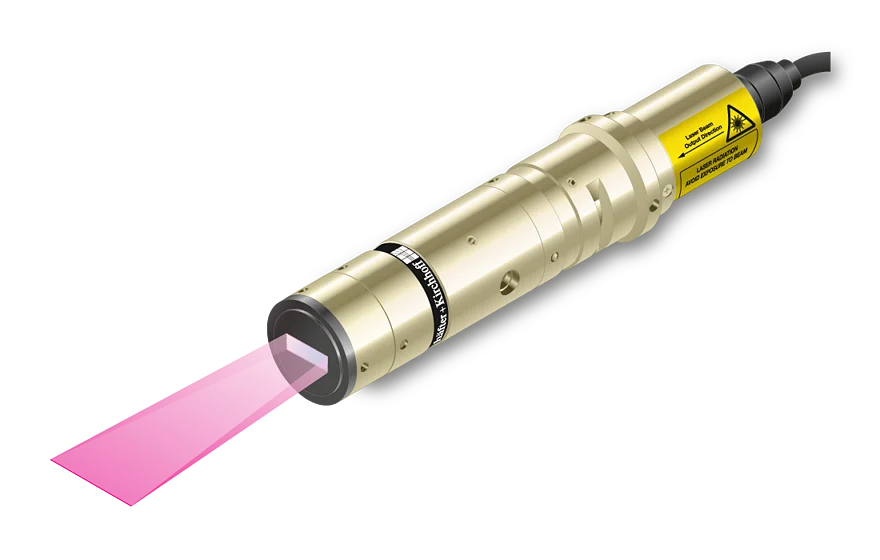
Laserdiodenstrahlquelle Serie 13LNM
Laserdiodenstrahlquelle Serie 13LNM mit Werkzeug
Representative product images. Individual product images are found on the individual product pages.
Macro Line Generator for extended depth of focusMacro
Line

Features

Machine vision laser line with a small fan angle, approx. uniform intensity distribution, and extended depth of focus.
  • Depth of focus 7 to 35 times larger than for corresponding Micro Laser Line Generator
  • Line widths starting at 14 µm
  • Wavelengths 635 - 940 nm
  • Laser powers up to 51 mW

Description

The laser diode beam sources series 13LNM produces laser lines with a fan angle between 0° and 16.8°, approx. uniform intensity distribution along the laser line and extended depth of focus. More precisely, it is Gaussian clipped by an aperture with an edge intensity of typ. 80% or higher. Across the laser line the intensity distribution is approx. Gaussian

The lasers of series 13LNM are Laser Macro Line Generators designed to generate laser lines with an extended depth of focus. Laser Micro Line Generators like the corresponding lasers of series 13LN have common basic optical features, but are designed to produce lines with small line width. They have a small depth of focus .

The laser has integrated electronics for control of the laser output power.  The output power can be controlled using the modulation input ports (TTL and analog) or manually using the potentiometer. Optionally the lasers can be equipped with RS232 serial interface for laser control  and data read-out.

For this laser type the working distance is fixed. A fine-adjustment of the distance between laser and target is recommended for fine-focusing in order to achieve minimal line width.

These high quality lasers can e.g. be used for machine vision applications, laser triangulation or laser light sectioning.


Technical data

Laser Line Module Series 13LNM

Dimensions (for a complete dimensional drawing please refer to the downloads section)

Dimensional Drawing for 13LNM

Technotes

FAQ

  • General FAQs
    • Can I adjust the working distance?
      No, for this laser type the working distance is fixed. A fine-adjustment of the distance between laser and target is recommended for fine-focusing in order to achieve minimal line width/spot size.
    • Can I modulate the laser?
      Yes, you can modulate the laser using the analog and TTL modulation input. The two modulation input channels are AND-wired. 
      The input for analog modulation allows applying an analog voltage Uanalog, which allows a linear control of the laser output power from approximately zero up to the maximum power given by the potentiometer setting.

      Please refer to the technical data sheet or manual for the max. modulation frequencies as well as modulation delay and rise and fall times. Please refer to the manual for details concerning the modulation as well timing diagrams.

    • How can I change the output power of the laser?

      The laser has integrated electronics for control of the laser output power. The output power can be controlled using the modulation input ports TTL and analog (TTL only for electronics type B) or manually using the potentiometer. 

      Using the potentiometer you set the maximum output power of the laser. Turn the potentiometer clockwise for more power and anti-clockwise for lower power.

      For all lasers with analog modulation input: The input for analog modulation allows applying an analog voltage Uanalog, which allows a linear control of the laser output power from approximately zero up to the maximum power given by the potentiometer setting.

      Please refer to the manual for more details.


    • How can I mount the laser to my setup?
      The laser can be mounted using a clamp collar or may be clamped radially (in a designated region).

      Please refer to the manual for details.
    • May I take off the attachment optics?

      No, you are not allowed to take off the attachment optics. If you do so you can severely damage the laser as well as hurt yourself and others around you.

      Each modification of the laser needs to be discussed with Schäfter+Kirchhoff first and is not to be done by the customer.

    • The laser I am interested in / have bought has much more laser power than I need. Can I get the laser with less power and a smaller laser class?

      Often higher power lasers can be equipped with internal optical filters to reduce the laser power, which in consequence may mean a smaller laser class. 

      This option has the advantage, that you can still set the laser power using the potentiometer and - if the laser has an analog modulation input- use the full range of the analog modulation input for setting the laser power. 

      Please note, that reducing the laser power by potentiometer or analog modulation input so that it operates close to the laser threshhold negatively affects laser features like pointing stability, line width/spot size or state of polarization.

      Please contact Schäfter+Kirchhoff for lasers with reduced laser power. 

    • My installation space is limited. What options do I have?
      There are several options to find the most compact solution:

      Many lasers are not only available with a straight cable exit, but also with an angled cable exit, which reduces the module length of the laser. 

      Often the laser is also avaible with a smaller diameter. Please check the adequate check box in the product configurator to find these options.

    • I want to equip the laser with my own connector. Is that possible?
      Schäfter+Kirchhoff lasers have multiple options for the connection cable and connector.

      Standard is a 1.5m cable with a connector type Lumberg (refer to the manual for details). We can also equip the laser with other connectors.

      You can also define a customer-specific cable length as well as have an open cable end without connector. This option might be used if you want to attach a customer-specific connector.
  • Troubleshooting
    • Why is the laser not emitting?
      • Is the pin-out of the supply cable incorrect or cable not properly connected?
        For modified or customer-specific connectors, check the manual if the the pin-out is correct. Check if all connectors are connected properly.
      • Is the analog and TTL modulation input voltage too low?
        Set the modulation input voltage to the specified value. Refer to the manual for more details.     
      • Is the supply voltage lower than specified?
        Raise the supply voltage to the specified value. Refer to the manual for more details.
      • Is the supply voltage higher than specified?
        Lower the supply voltage and apply the specified value. Refer to the manual for more details.
      • Is the ambient temperature outside of the specified range?
        Adjust ambient temperature to the specified rang. Refer to the manual for more details.
      • Malfunction of laser diode or electronics
        Contact supplier to receive an RMA for return delivery.
    • Why is the laser output power too low?
      • Is the potentiometer setting for output power not set to maximum?
        Turn potentiometer clockwise until it is set to maximum.
      • Is the analog input voltage too low?
        Raise analog modulation input voltage to the maximum specified value. Refer to the manual for more details.
      • Is the lens contaminated?
        Clean lens, but make sure the laser is OFF first. Contact supplier for an RMA and return delivery if necessary.
      • Degraded laser diode
        Contact supplier to receive an RMA for return delivery
    • Why does the laser not reach 100% of the specified output power?
      • Is there a voltage drop/potential drop on GND wire?
        Raise analog modulation input voltage to 5 V. Refer to the manual for more details.
      • Is the ambient temperature too high?
        Adjust ambient temperature to the specified range.
    • Why can't I set the laser to zero output power?
      • Minimum specified laser power
        All lasers have a minimum laser power, that cannot be lower than the minimum laser power specified by the laser series. Refer to the data report to find an individiual measured value for Pmin for each laser.
    • The laser has pulsating/flickering laser power and increased noise. Why?
      • Is the supply voltage too low?
        If the supply voltage is too low the autonomous controller initiates shutdown. Increase supply voltage to compensate for a voltage/potential drop or use a cable with larger cross section.
      • Have you checked your grounding measures?
        Differences in ground potentials can cause earth loops. Check grounding measures and refer to the manual for more details.
      • Have you checked your cable connections ?
        Check if cable connections are not connected properly and mechanically stable. If the laser is compatible with a switchbox then make sure that the Lumberg connector is screwed in finger-tight. All connectors (including customer-specific connections) must be properly and mechanically stable connected.
      • Is the shield of the power cable not connected correctly?
        Connect shield correctly. If the laser is compatible with a switchbox also screw in Lumberg Connectors correctly. Refer to the manual for more details.
    • The modulation inputs are not working
      • Did you also connect the unused modulation input?
        Connect unused modulation input nonetheless. Refer to the manual for details.
      • Malfunction of electronics
        Contact supplier to receive an RMA for return delivery.
    • There is stray light around the laser line/spot. Why?
      • Is the laser power too low?
        Stray light can be caused if  the laser power is too low and close to laser threshold. Raise the output power for stable laser operation.
    • The laser has insufficient pointing stability. What can I do?
      • Have you checked the mechanical stability of the laser mount?
        Insufficient mechanical stability of the mount can lead to a pointing instability of the laser. If this is the case, improve laser mount, and check if the laser is clamped in the specified clamping region. Refer to the manual for more details.
      • Is the system affected by temperature changes?
        Please check for temperature changes. Improve the temperature management to avoid temperature fluctuations.
      • Did you wait for the laser to warm up?
        Consider specified warm-up time. Refer to the manual for details.
      • Check the laser power
        If the laser power is too low (power too close to laser threshold), pointing stability can be affected. Raise output power for stable laser operation.
    • The laser has an unstable state of polarization. What can I do?
      • Check the laser power
        If the laser power is too low (power too close to laser threshold), the state of polarization can be affected. Raise output power for stable laser operation.
    • The laser suddenly emits a strong odor. What do I do?
      • Immediately disconnect the laser from the power supply! Have you used the laser with the wrong supply voltage?
        If you notice a strong odor or anything that indicates burnt electronics/cables/diodes, disconnect the laser from the power supply immediately and take other safety precautions if necessary.

        You may have operated the laser with too high a supply voltage and damaged the laser as a result.
        Please contact Schäfter+Kirchhoff for an RMA and further instructions.

Accessories