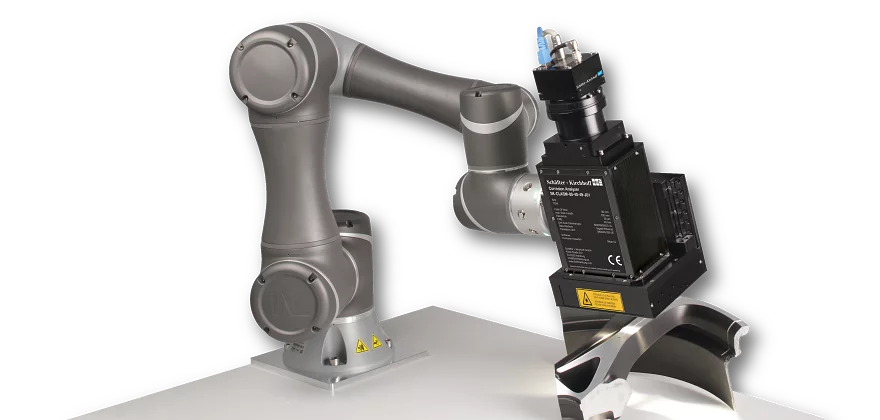
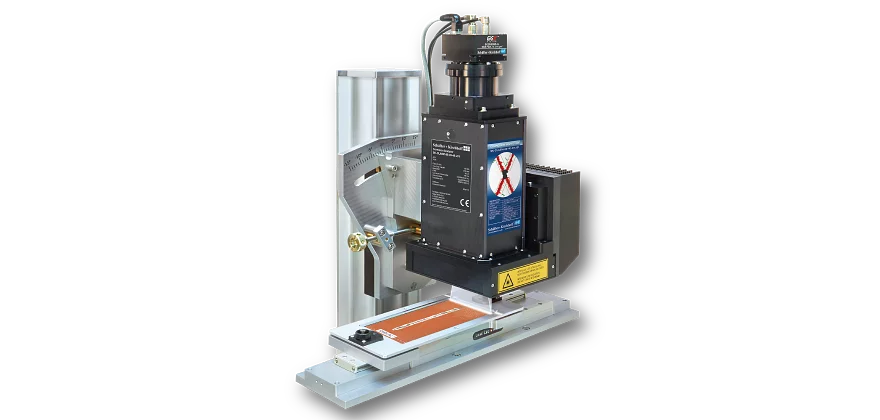
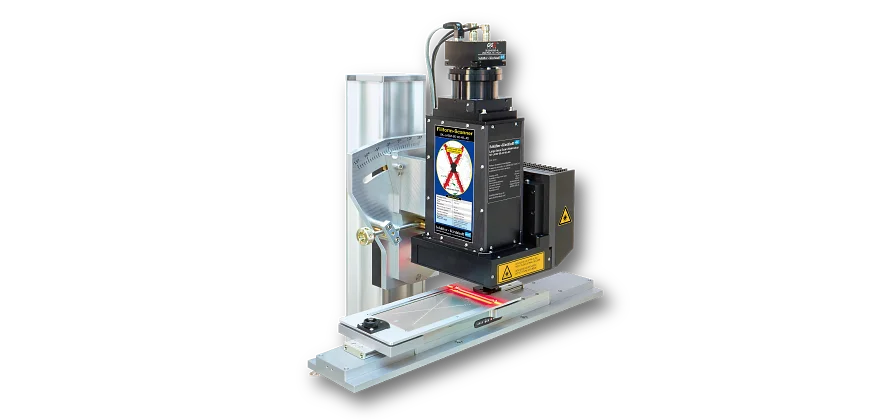
The robot-guided line scan camera consists of a sensor head with a high-resolution line scan camera (monochrome or color) and integrated line illumination, that is mounted on a robot arm. The robot arm executes a scanning movement on a programmed path over the surface. The path programming is easy possible by manually setting of few waypoints. At the beginning of the movement, the control unit of the robot arm sends a trigger signal to the camera.
The camera starts the image data transfer to the computer with an adjustable delay. During the movement, the line signals are assembled one by one into a 2D image in the computer's RAM.
At the end of the movement, the computer displays the image on the monitor. The image processing and evaluation can be applied to the entire image after the scan is finished, or frame-by-frame already during the scanning process.
Unlimited freedom with high safety
Thanks to a 6-axis robot arm, there are almost no limits to the scanning of surfaces. Whether strongly curved, slightly twisted or a flat surface - all this is no handicap for the robot arm. This great freedom is supported by intuitive operation for creating the path for the scanning process. Waypoints can be set either by hand or in an easy-to-use software interface. When using the software interface, the robot arm can be controlled with high precision in both the position and angle of the sensor head.
The operator also benefits from the high safety of the robot arm thanks to force-torque sensors that comply with the standards DIN EN ISO 10218-1 as well as the requirements of DIN ISO/TS 15066. If too much force is applied, the robot arm switches off automatically. The operator must manually confirm the safety status in order for the robot to resume its work. This ensures safe operation in cooperation with humans.
Bright-field and dark-field illumination
To detect the relevant microstructures, bright-field or dark-field illumination is used.
With bright-field illumination, the light strikes the sample surface perpendicularly. Flat surfaces facing the sensor appear bright, the light hitting the edges is reflected away from the sensor. They appear dark.
With dark-field illumination, the light is directed onto the test surface with an angle. Only light from e.g. edges that cause the light to reflect into the sensor appear bright, flat surfaces e.g. facing the sensor appear dark.
The sensor head on the robot arm can be precisely adjusted in angle and can also precisely maintain this angle over a distance section. If the surface changes, the angle can be easily readjusted in the path planning.
Corrosion Inspector Software
The software SKan-CI offers a simple control for the scanner system. After scanning the test sample, you have a wide range of image processing functions to get the best input for the analysis.
SKan-CI automatically recognizes a predefined set of scribe patterns and also automatically assigns, measures and ranks the corrosion and delamination areas, infiltration patches, filament lengths and their distribution frequency. When desired, the interactive and manual measurement of corrosive phenomena can be performed by the operator.
The program saves the accepted corrosion analysis results as images and tabular data, together with the treatment and analytical processing information, for retrieval, comparison and documentation.
The software supports also the offline evaluation, without a connection to the Corrosion Inspector hardware. After loading a stored image, grayscaled or color, the corrosion phenomena can be evaluated with all available methods. This allows an independent reanalysis or a new evaluation.


